Hardware screen
The HUB's Hardware row opens the rig dashboard — what's installed, what condition it's in, and how to keep it running. Buying and upgrading happens on the deeper Hardware Shop screen; this page is about the everyday "check + repair" flow.
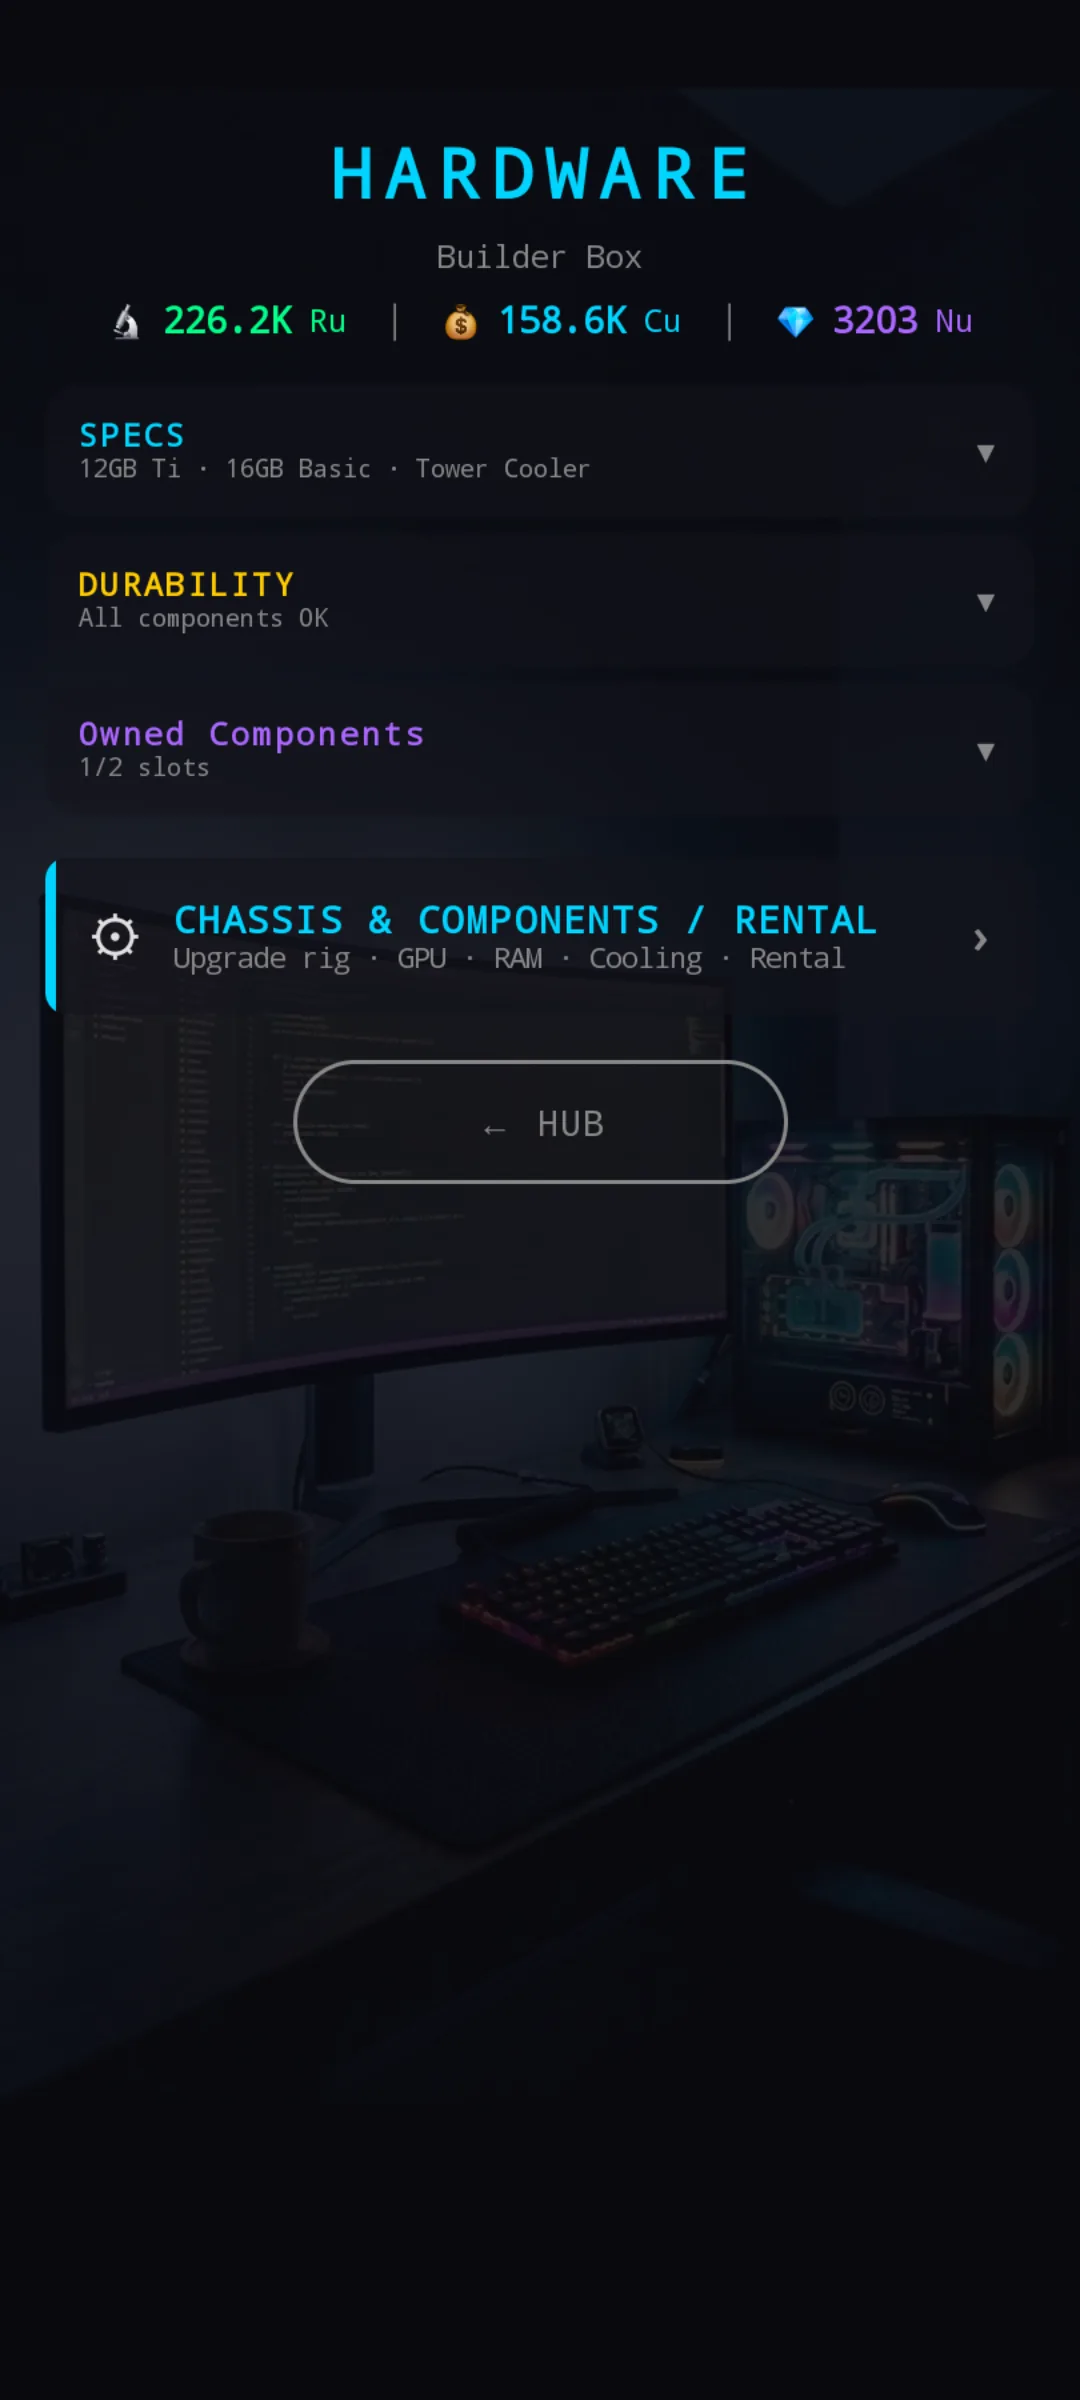
At a glance
The screen has four rows, top to bottom:
- Specs — read-only summary of every spec your current rig exposes.
- Durability — per-component bars + repair buttons + REPAIR ALL + the daily maintenance boosts.
- Owned Components — your Black Market inventory (covered in the Black Market items guide).
- Chassis & Components / Rental — the door to the Hardware Shop.
Specs — what's shown
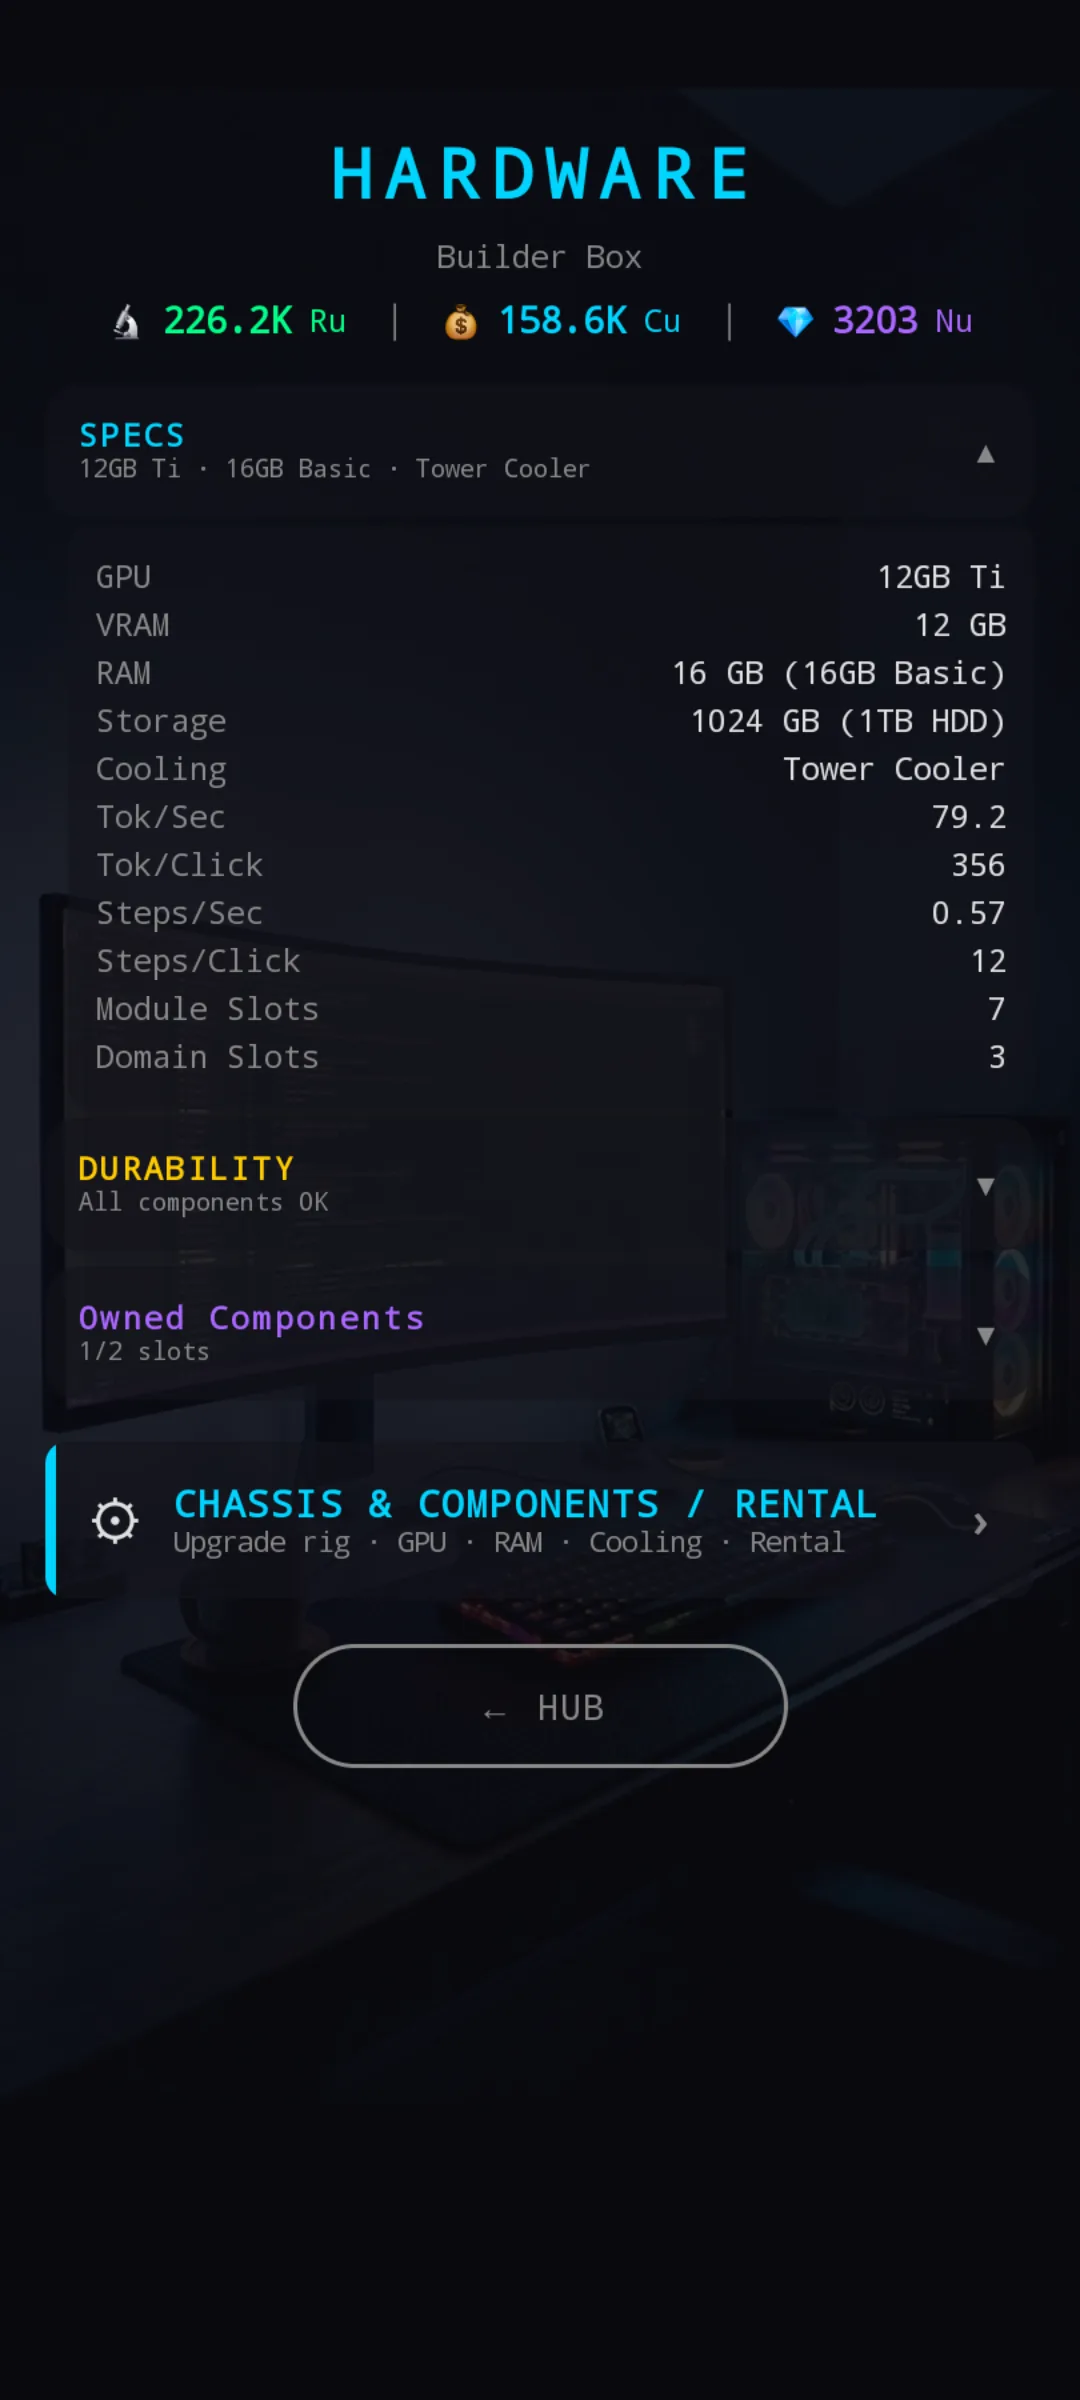
One block per spec, no editing: GPU name, VRAM, RAM size, Storage, Cooling (on the 1–32 scale). Then the derived numbers — Tok/Sec and Tok/Click during pretrain, Clicks-to-finish and estimated run duration during runs, Module Slots, Domain Slots. These are the numbers Pretrain and Run Configuration read from. If anything looks off (e.g. run duration suddenly higher than expected), check Durability — heavy wear quietly drags performance.
Durability + repair
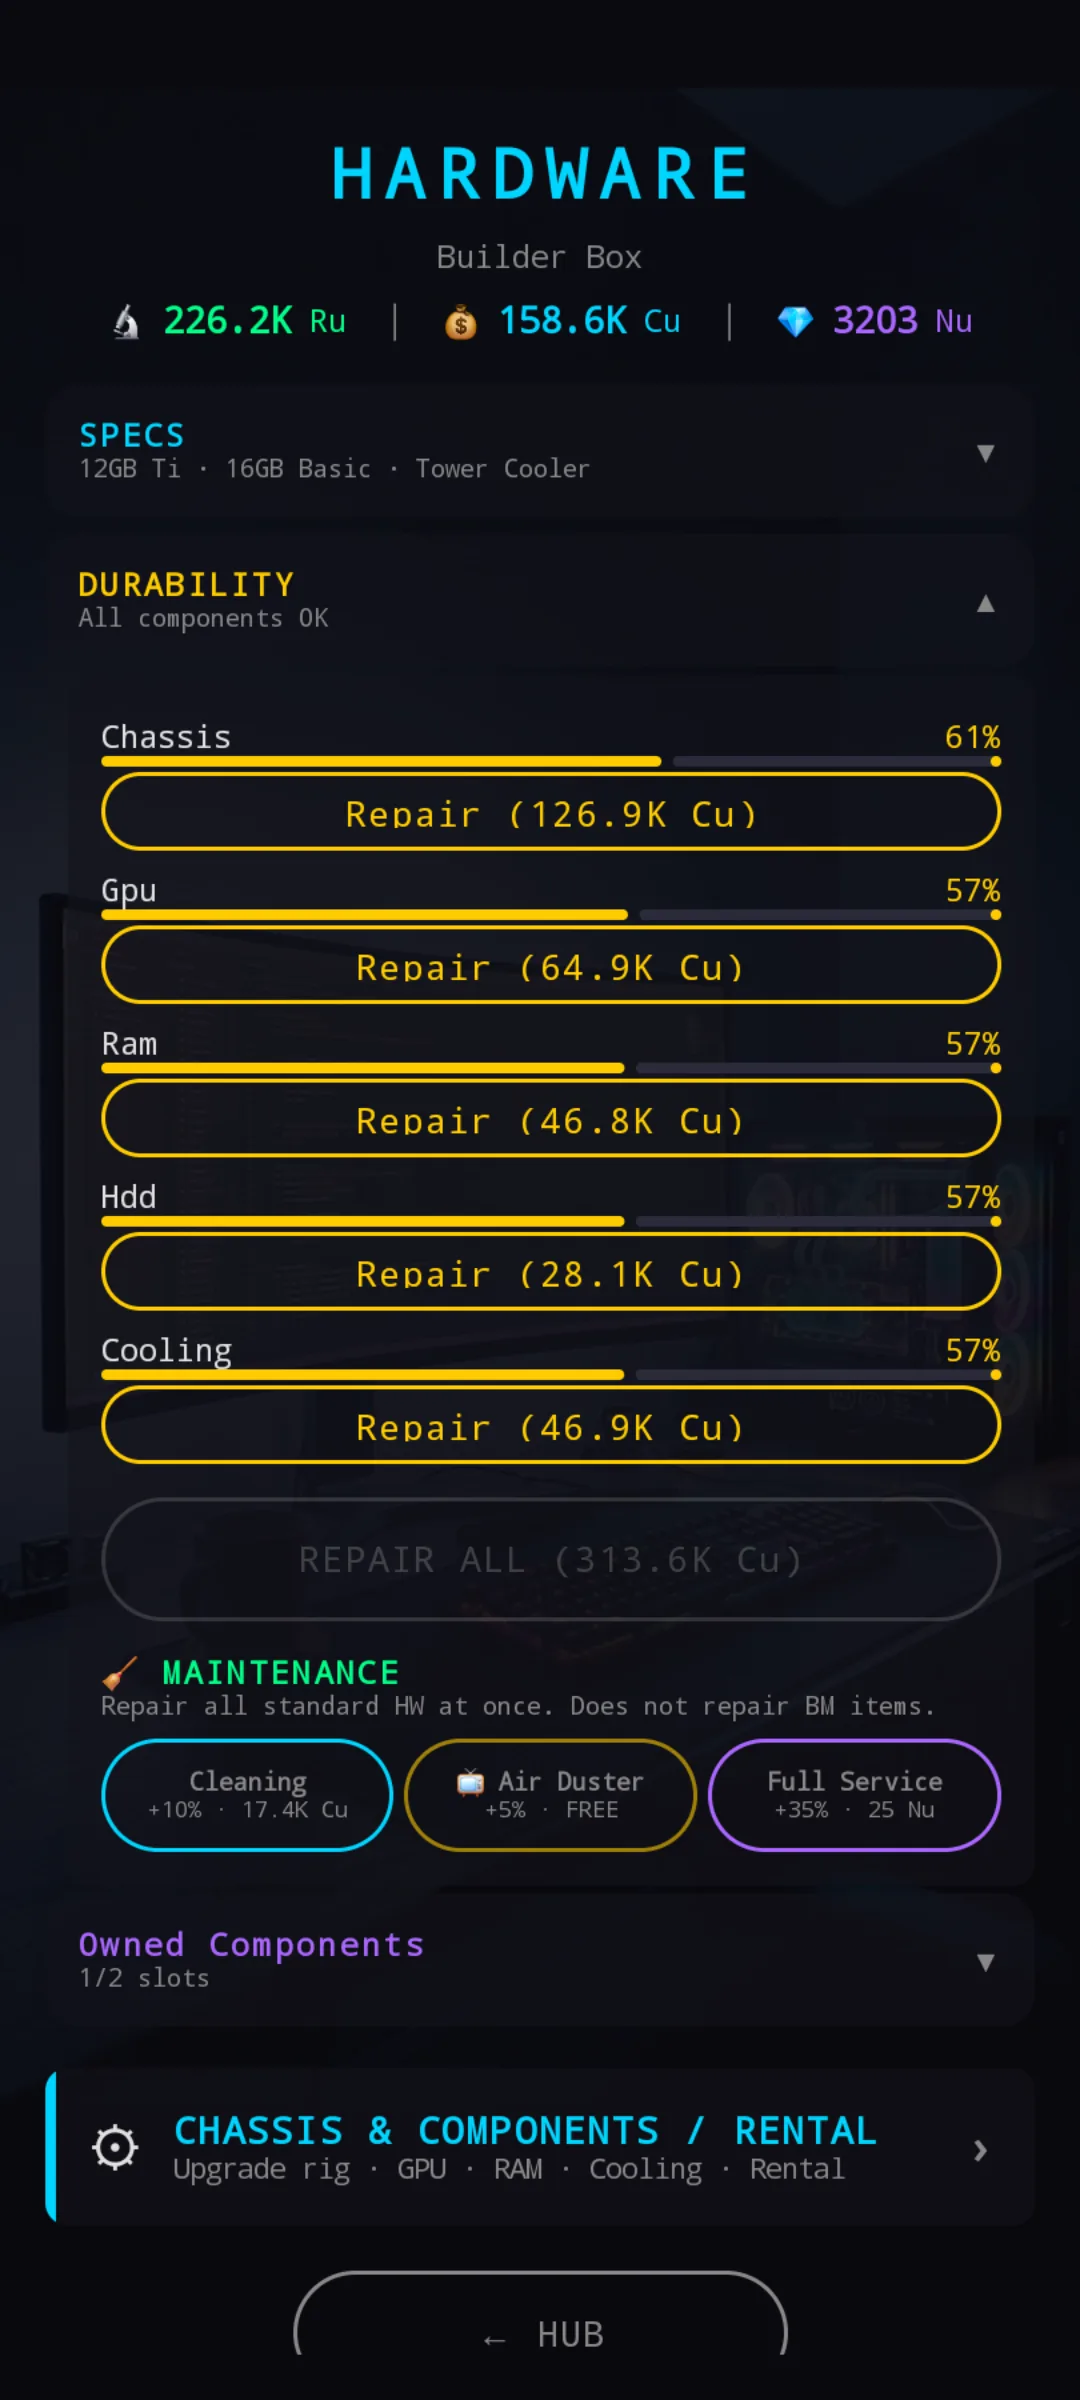
One bar per component (Chassis / GPU / RAM / HDD / Cooling). Tap the Repair button under any bar to repair that one component for its individual Cu cost. REPAIR ALL at the bottom pays the lump sum and brings everything back to 100 % in one tap.
Black Market items are not in this list and cannot be repaired. They live in the Owned Components row instead — see the Black Market items guide.
Maintenance boosts (once per day)
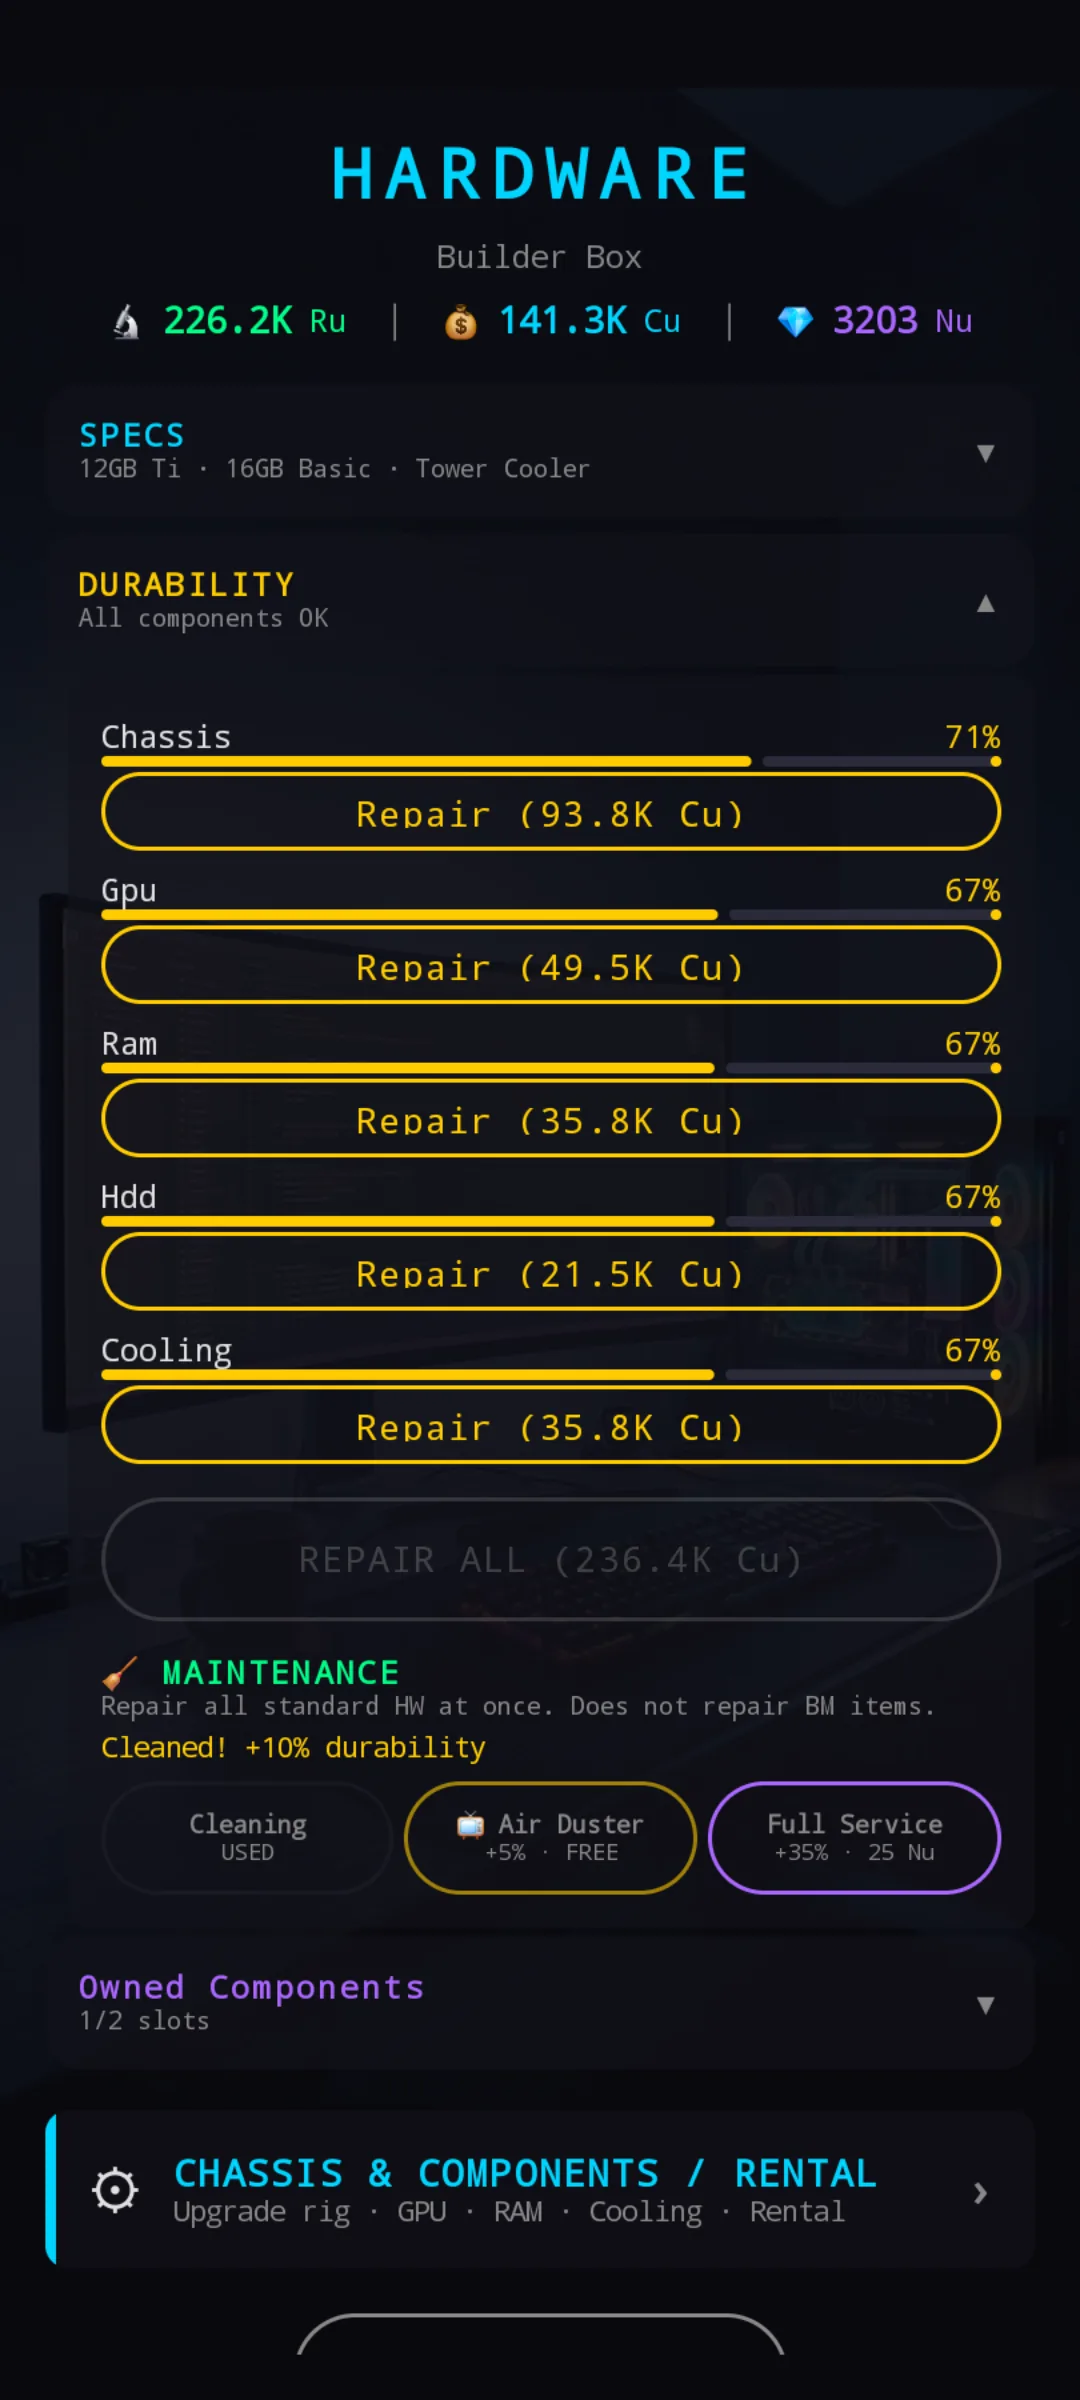
The Durability section also has three daily maintenance boosts that bump durability across every standard component at once — cheaper than repairing individually and useful when you've got a brain about to sell and just need a quick top-up:
- Cleaning — +10 % durability for a small Cu cost.
- Air Duster — +5 % durability in exchange for completing a short Packet Filter round. Free, modest gain.
- Full Service — +35 % durability for a small Nu (premium) cost.
Each boost is once per 24 hours. The cooldowns run on their own clock — a brain sale does not reset them, so you cannot grind boosts by speed-running brain sales. The three are independent: you can use all three in the same window if you want, then wait a day for the cycle.
None of the boosts repair Black Market items.
How HW degradation actually works
Hardware wears with use, so every run technically costs you a tiny slice of durability. Two small but important details to internalise:
- Better HW on a smaller model wears slower than HW that's barely keeping up with what you're training. If you're running a Small model on a Builder-tier rig, your components lose durability noticeably more slowly than they would on a Starter rig running the same Small model. The game is rewarding you for not pushing the hardware to its ceiling.
- At max quality, wear drops. Once a brain has hit the quality cap allowed by your current setup, the HW stops being stressed — the brain isn't growing anymore, so the hardware stops grinding. Long farm sessions at the cap are cheap from a repair-budget perspective.
Practically: a deep mid-game investment in higher-tier components doesn't just buy you faster training, it also stretches every Cu of repair spend you'll do from then on.
Tips & tricks
- Use Air Duster every day. Free +5 % for a short Packet Filter round is the highest-value daily action you can take on this screen.
- Cleaning beats individual repair for broad-but-light wear. Below ~80 % across the board, Cleaning is usually the right call.
- Save Full Service for emergencies — the +35 % spike is best spent on a rig that's about to fail mid-contract, not as routine maintenance.
- Don't speed-sell to refresh boosts. The 24h cooldown ignores brain sales. Sell when it makes economic sense, not when you want a fresh Cleaning.
- If a run feels slow, check Specs first — a component eating durability silently degrades the derived stats (effective cooling and Tok/Click) before the bars look alarming.